

Conditions
The Conditions page shows the Spring Boot auto-configuration report for the managed instance — every @Conditional evaluation Spring performed at startup, split into two tabs by outcome.
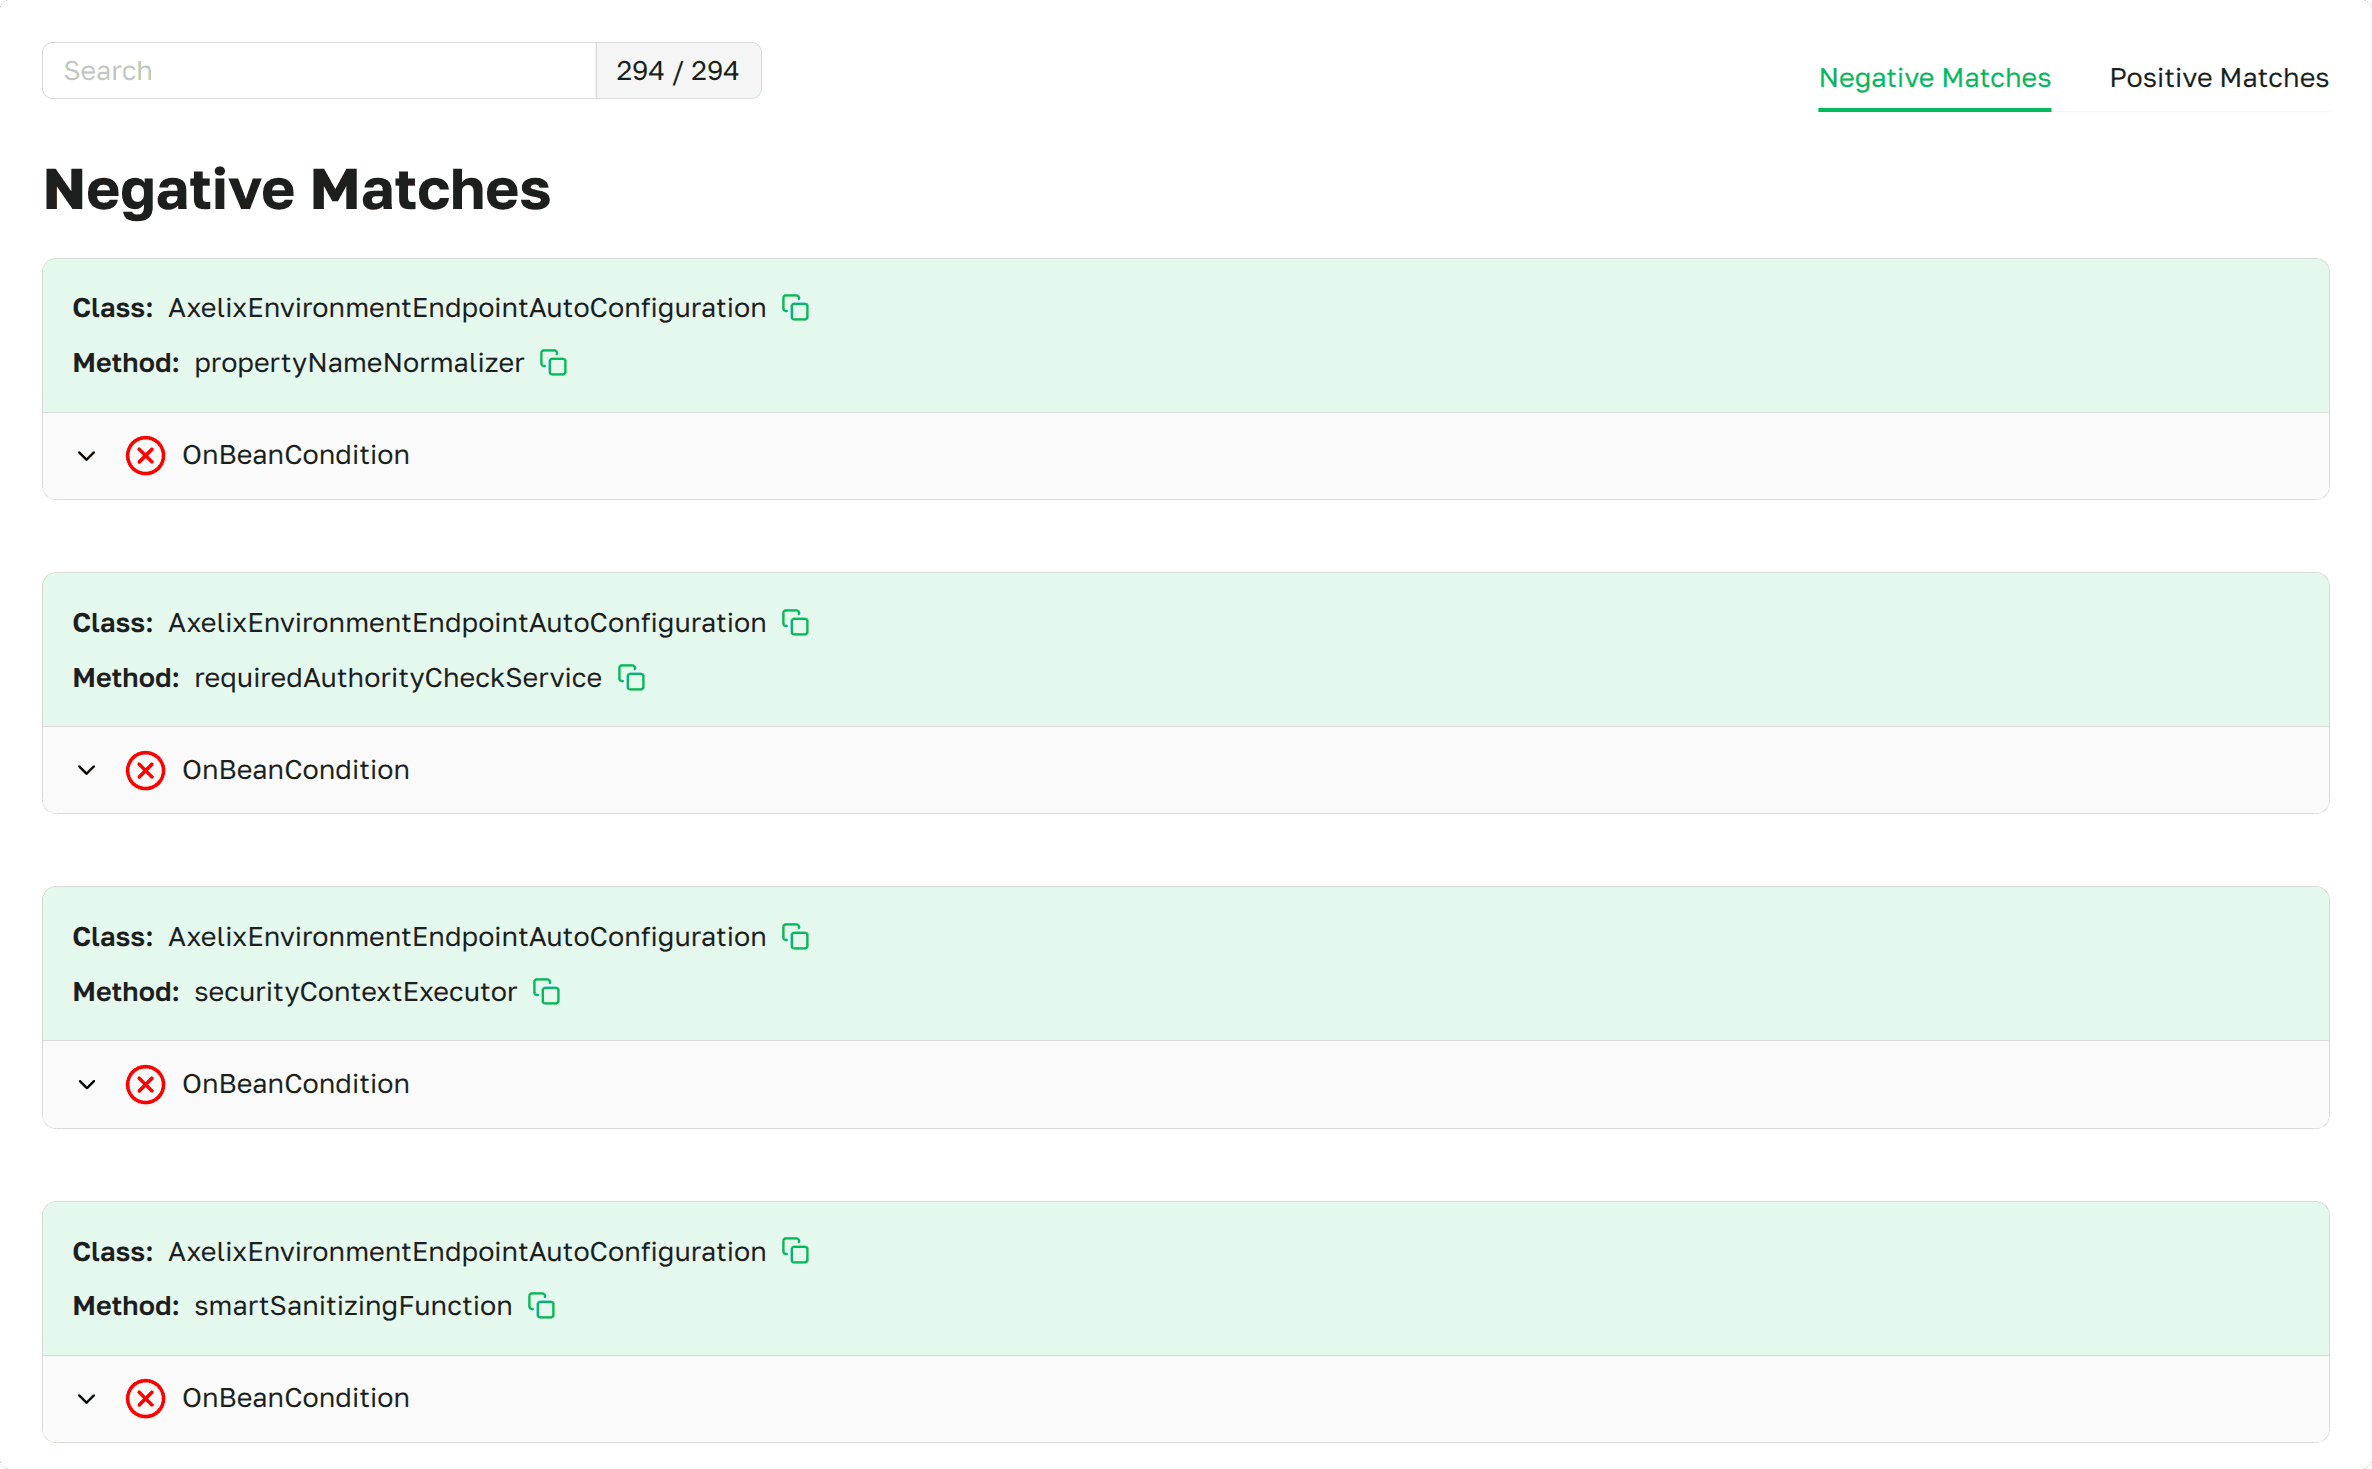 Conditions page as presented in
Axelix UI
Conditions page as presented in
Axelix UI
The page is read-only and available to every authenticated user — VIEWER, EDITOR, ADMIN, and SUPER_ADMIN can all open it. See Roles and authorities for the full role/authority matrix.
Two tabs sit at the top — Negative Matches (default) and Positive Matches — with a single search input above
them and a counter in the form <matching> / <total> reflecting the currently active tab.
Each tab is organized the same way: a list of configuration classes (and, when applicable, the specific @Bean method
inside them). The header of every entry shows:
- Class: the fully qualified class that owns the conditional annotation. A copy control next to it copies the full name.
- Method: the
@Beanmethod name — shown only when the condition was placed on a method rather than on the class itself.
Under the header sits a list of individual conditions. Each condition is an accordion row whose label is the condition's
short name (e.g. OnClassCondition, OnPropertyCondition). Expanding it reveals the descriptive message Spring
produced while evaluating it. A status icon on the left of each row indicates the outcome:
- ✓ — condition matched.
- ✗ — condition did not match.
Negative Matches tab
A scrollable list of configurations Spring evaluated whose overall outcome was not matched — i.e. at least one required condition failed. For each such configuration the page lists both the failing conditions (✗) and the conditions that did happen to match (✓), so you can see exactly which check tipped the balance.
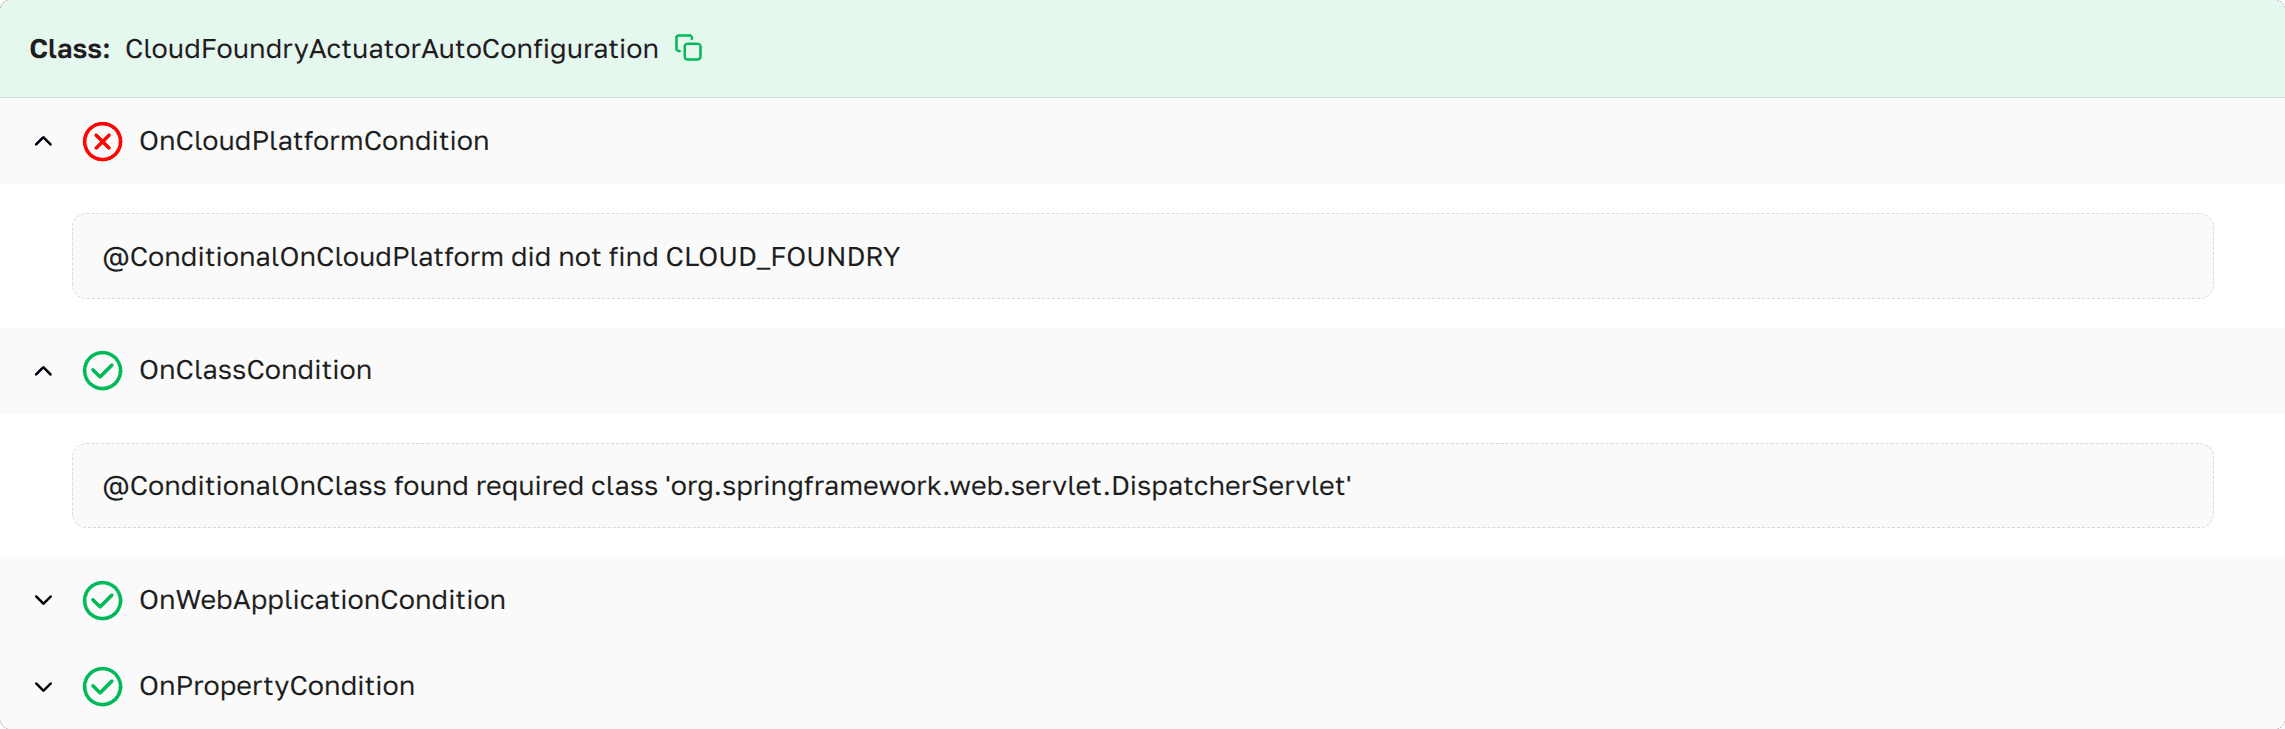 Conditions negative matches page as presented in Axelix UI
Positive Matches tab
A scrollable list of configurations whose overall outcome was matched — every required condition passed. Each entry shows the matched conditions (✓) and the message explaining why each one passed.
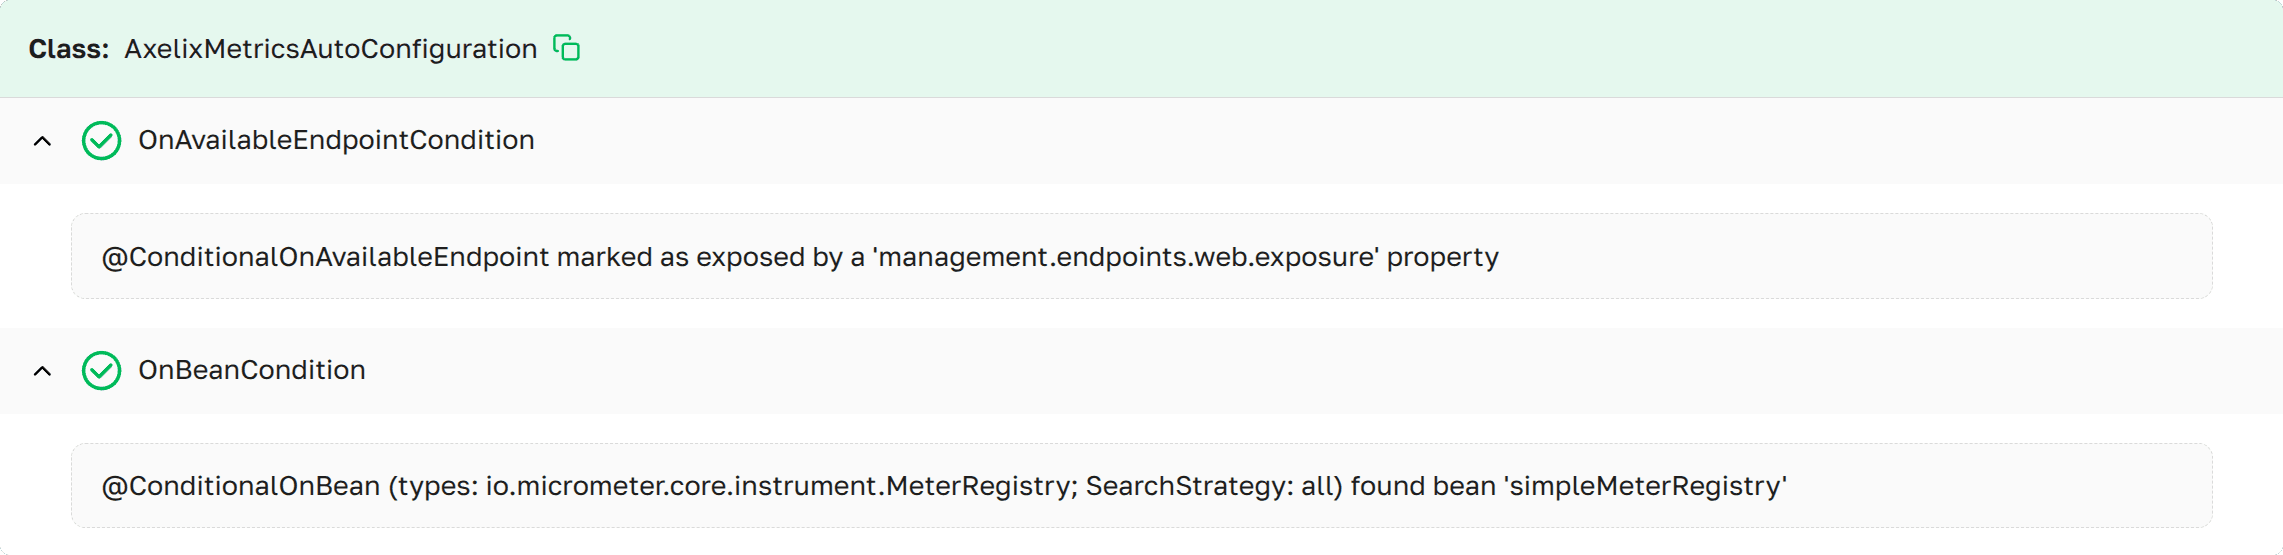 Conditions
matches page as presented in Axelix UI
Conditions
matches page as presented in Axelix UI
MCP Tools
The auto-configuration report is also exposed to AI agents through MCP. See the MCP Tools catalog.
Enable Dedicated Actuator Endpoint
If you are on Axelix 1.2.0 or later, none of this is required: the starter registers its custom actuator endpoints by itself, and Axelix no longer requires the health/info endpoints to be enabled — it works perfectly well without them. No configuration is needed here.
The page is backed by the axelix-conditions actuator endpoint contributed by the Axelix Spring Boot Starter. Expose it
through the standard Spring Boot Actuator properties — see Configuring Spring Boot
Starter for the full list
of Axelix endpoints and surrounding setup:
management.endpoints.web.exposure.include=axelix-conditionsSee also
- Beans — bean rows link here via
@AutoConfiguration class/ Who defines this bean?. - Configuring Master
- Configuring Spring Boot Starter